

5 Tips for Night Photography in Houston

Houston is the fourth largest city in the United States, so you can imagine it has a lot going on all the time, especially at night. The city of Houston is always lit up at night pretty much anywhere you go. The decorative lights and specialty restaurants with neon signs make Houston a great spot to take photos at night.
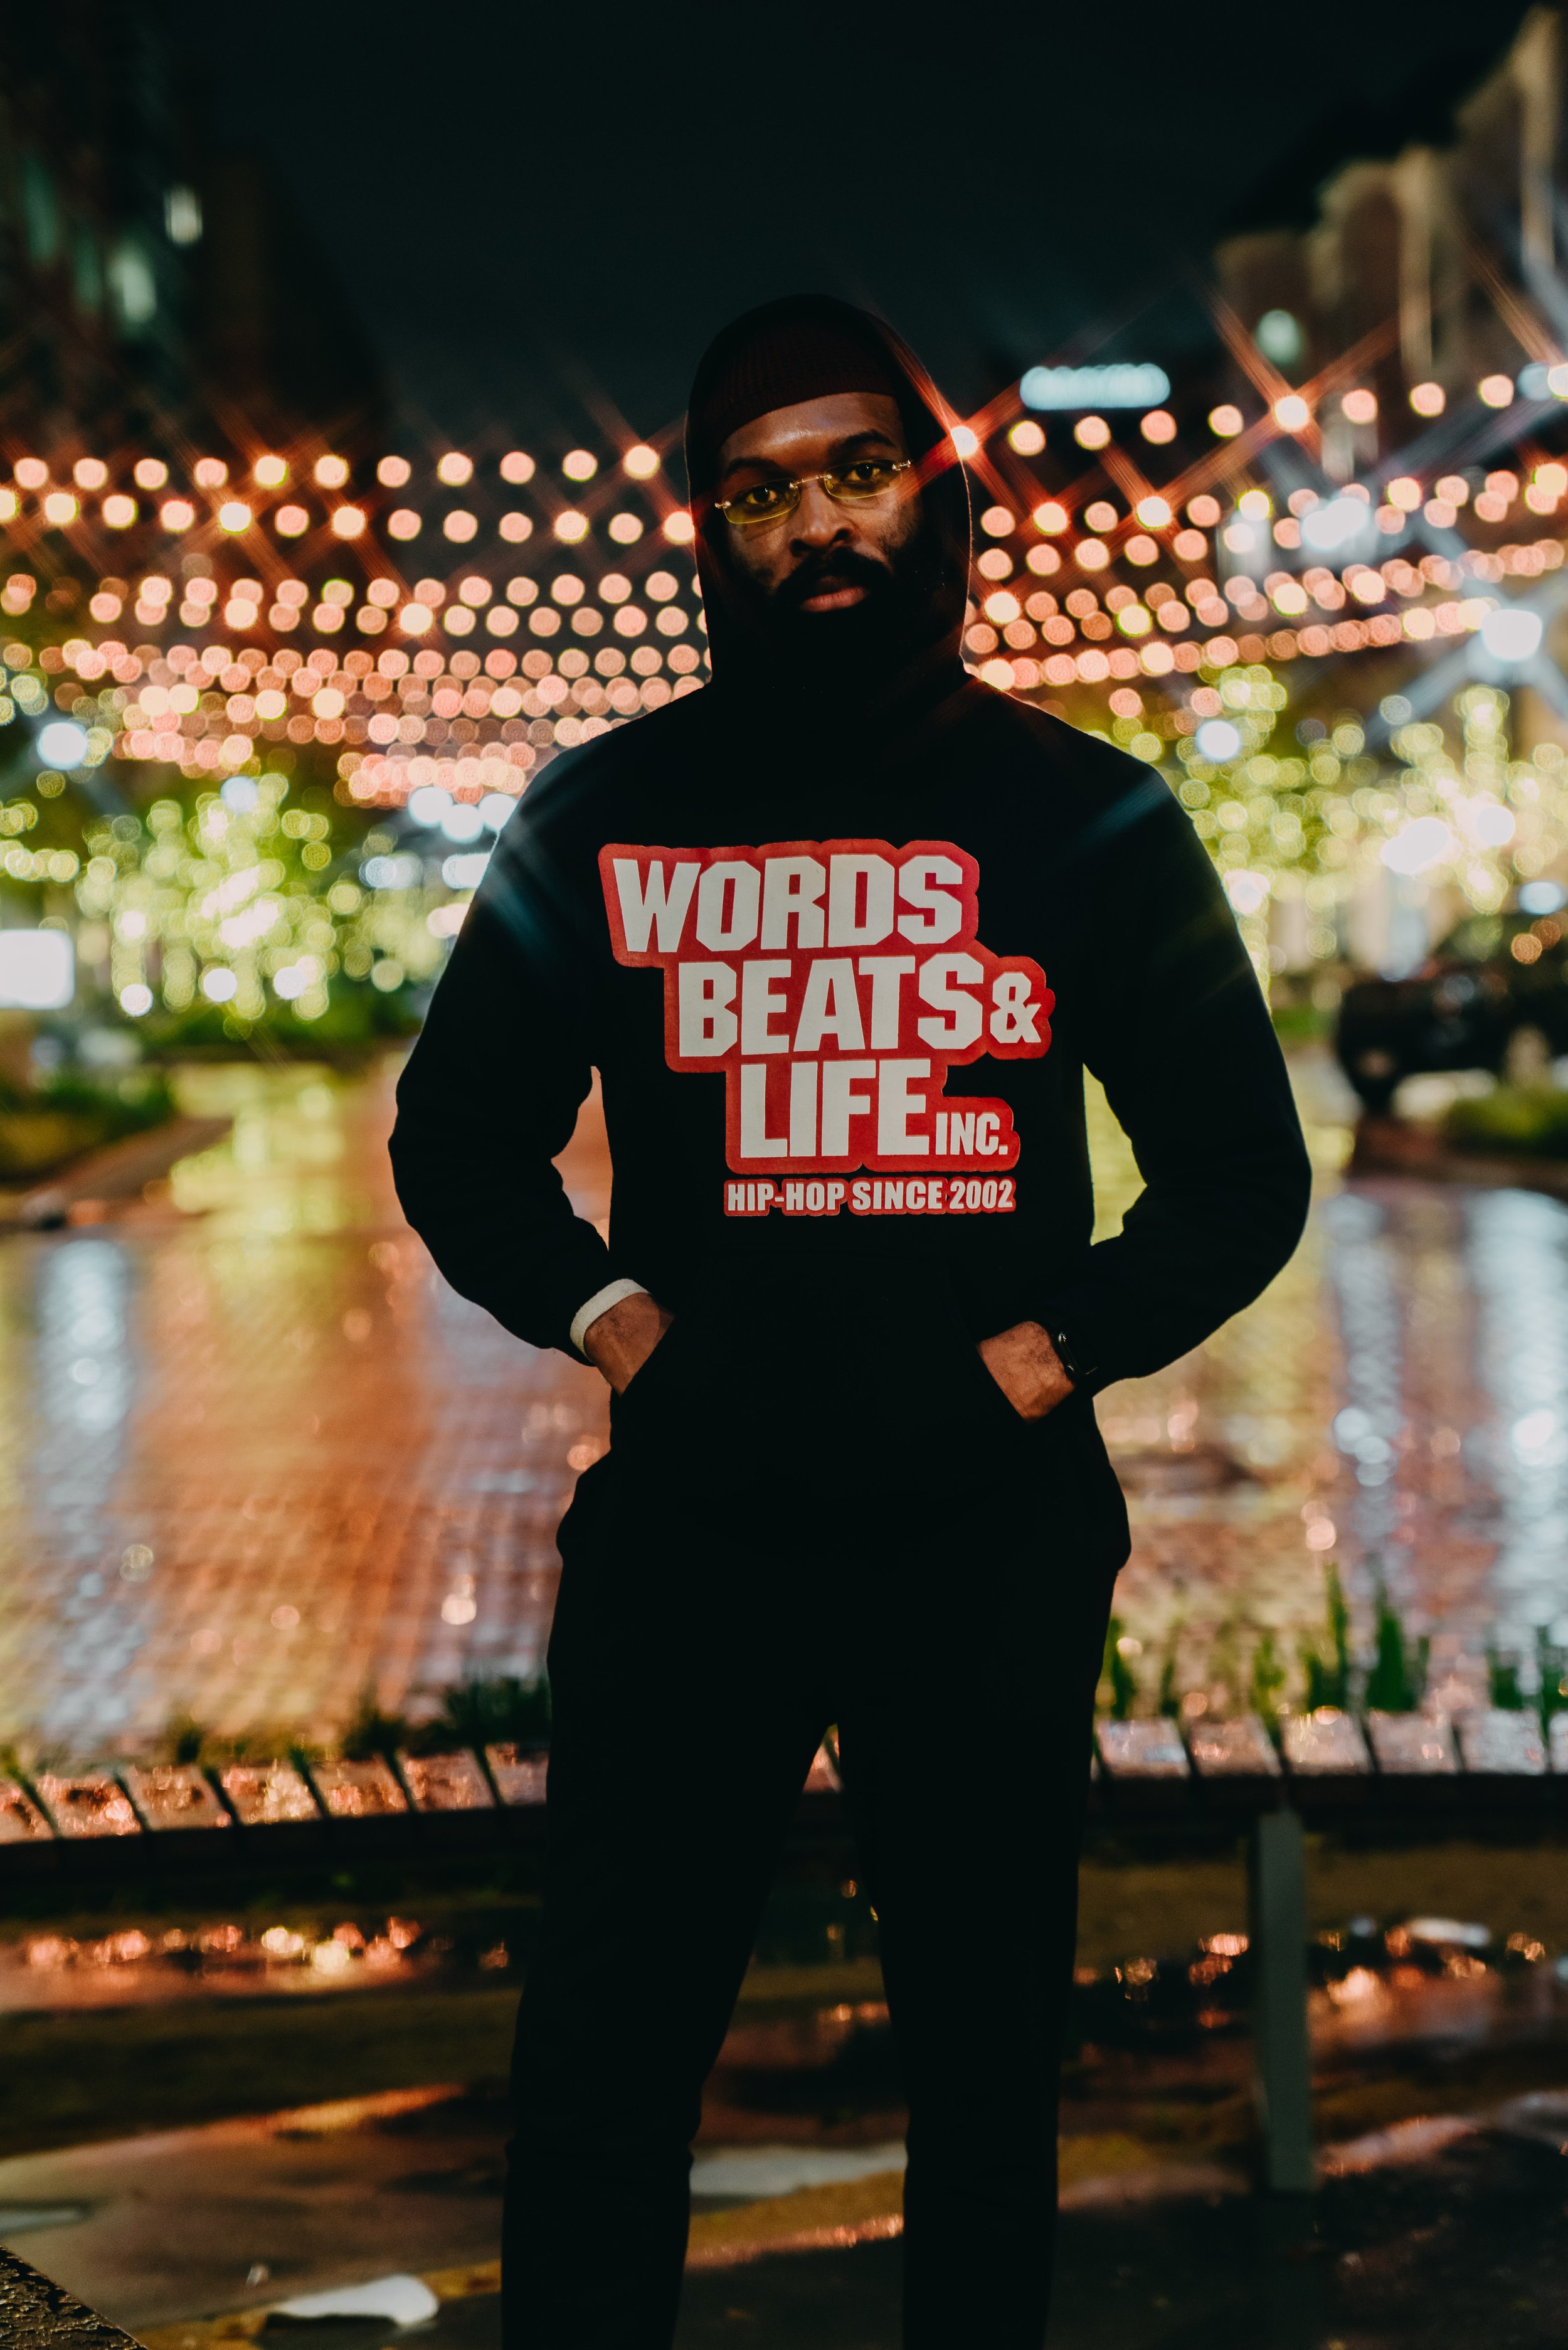
In this post, I will give you 5 tips for taking photos at night. For this shoot, I took Gesiye (our model for the night) out to Town Center in Sugarland to take some photos at night. I packed up all my gear. My Sony a7Ri, one Neweer CN-160 LED, one Impact light stand, and my tripod. When you get out there it really important to watch your settings.
Use a slower shutter speed
The first tip is to use a slower shutter speed. The shutter setting lets the camera know how long to open the shutter when taking the photo. The faster the shutter the shorter time it’s open and the less light it lets in. For night photography you want to slow your shutter speed down as much as you can to let in the most light. I shot these photos with these settings. ISO 250, f/2.8, and shutter speed 1/4 sec.

ISO 250 / f/2.8 /Shutter 1/4sec
ISO 640 / f/2.8 /Shutter 1/10sec
Use a Tripod
Since you will need to slow your shutter speed down, any small movement can cause your image to come out blurry. Bringing a tripod with help you get that extra stability that you will need with a much slower shutter speed. With a tripod, you can let in much more light and not worry about shaky hands.

Don’t let your ISO get too high
You can still take sharp photos at night, but you have to be careful of your settings. ISO is one setting that varies from camera to camera. Some cameras are built to handle low-light situations better than others. With these cameras, you can put a little more pressure on your ISO before you lose the image quality. With other cameras, you will need to be a little more careful when increasing your ISO. It can help to add fill light when necessary, and this is why I packed my CN-160 LED light. You can find this light online for about 30 dollars. They are small and durable and can add a little fill of light in these situations. You can bring your ISO back down and add a little light to preserve your image quality.
Find the lights
Once you have your settings right it’s time to go and find the light! Restaurants with neon signs, street lights, art installments with lights, car headlights, or whatever light you can find. You want to find as much light as you can and position your subject as close to that light source as possible. In the city at night, there are so many sources of light you can find. This is the time to get creative. Gesiye was wearing an all-black outfit so for a lot of the shots I positioned the light behind him to get his outline and create a good separation between him and the darkness of the night. You can use almost any light as a source. In Town Center, they had string lights up and lights on the trees, we also used restaurant lights as a source since there were a ton of stores in the center.


Use manual focus
It’s time to snap some pics and the best way to ensure your images come out in focus is by handling it yourself. Chances are that your camera has an autofocus setting, yeah forget about that setting tonight. When taking photos at night you’re going to want to check the focus on your own to make sure it is right. The autofocus setting uses a little light to flash on your subject to find where it needs to focus, at night you can’t always trust this. When you set your frame up on your tripod you should check the focus manually. Pro tip: You can use a small external light to help you to focus the image. I carried my CN-160 and increased the intensity to get my image in focus correctly.
Keep these things in mind the next time you want to try out some photography at night. Let me know how you do in the comments and share some photos with us on Instagram @NVTAMedia!